

We had never actually made my own nut-milk before, so we were surprised by how easy it was! It tastes so much fresher and CLEAN-er!! The milk will last up to 5 days in a sealed glass jar refrigerated.
** Watch our recipe video HERE!
Tips:
- Put milk in “re-purposed” glass jar. We used old jelly jars from Trader Joes.
- Purchase jelly bags at local hardware stores! Super cheap, usually come in packs of two found in the canning and preserving section.
- Leave room in jar for shaking. Milk will separate in the fridge.
- Use leftovers from milk to make meal.
#1. soaking the nuts (10-12 hrs) #2. rinsing the nuts #3. place water and nuts in blender #4. mix and then liquify nuts with water. Blend until the pieces are as small possible. #5. strain the nutmilk into a jelly bag (shown) inside a strainer inside a bowl #5 cont. straining the nutmilk #6. squeeze/”milk” jelly bag (shown) for extra nutmilk
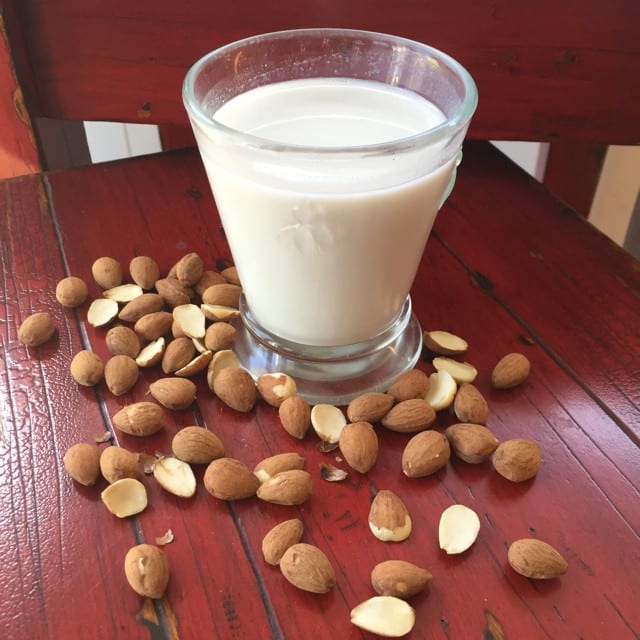
*final nut milk*
#7. place leftover nut flour on sheetpan to dry and make “meal” #8. to dry faster, place nutmeal in oven @ 150 for 1 hour. TIP: leave room in jars to shake separated nutmilk. Will last up to 5 days in fridge!
Homemade Nut Milk
Ingredients
Ingredients:
1 cup nuts (almond, hazelnut, cashews, etc.)
2– 3 cups water
** You can double the recipe (depending on how much water your blender can hold)
What you will need:
-Strainer
-Cheesecloth, jelly bag, nut or seed milk bag (best are the nut milk bags, we love Ellie’s Best! Use our coupon code “currygirl” for 10% off!)
-Large bowl
-Blender
-Baking sheet
-Mason jars (or other glass jars to store milk)
Instructions
- Soak nuts in enough water to cover for 10-12 hours
- Strain and rinse nuts
- Put water and then nuts into blender (3 cups water to 1 cup nuts)
- Liquefy nuts and water for 1 minute or longer. Blend nuts and milk until pieces are as small as you can get them.
- Place a strainer in a large bowl, and strain through a cheesecloth
- squeeze/“milk” bag or cheesecloth for extra milk and drain into mason jars or other glass storage containers (old jelly jars). Make sure to leave room at the top so you can shake to mix—milk will separate in fridge.
- Place nut flour on sheetpan to dry sitting out at room temperature for 24-48 hours. To dry faster, pre-heat oven to 150 degree and place sheet in for 1 hour. Check after 30 minutes to stir
- Store nut meal in freezer to avoid mold. If you plan on using the nut meal right away, put some in a small baggy in the refrigerator.
Do you have any suggestions as far as where to buy the almonds or what brand? Our son has a tree nut allergy to everything than almonds so we need to be super careful the almonds aren’t processed in a facility with other nuts.
Hi Rebecca! Depending where you are located, I would recommend going to a farmers market. In Los Angeles there are tons of great farmers who grow their own and would be able to tell you that their almonds are safe from cross contamination. You could also look into almond specific nuts brands – I can’t think of any off the top of my head, maybe like a Blue Diamond? Not organic, so not our first choice, but they might have nuts that would work for your son!